Publish to the Online Portal and Mobile Application
Forms can be published to the Portal. This launch method is commonly used if you want your respondents to access all the forms published to them in one place.
To launch a desired Form (enhanced offline support) to the portal:
Go to the Launch page and select the Ad-hoc (via Portal/Mobile Apps) option.
%20(2).png?inst-v=df463a08-9e7b-4080-abe7-1e0ff4747047)
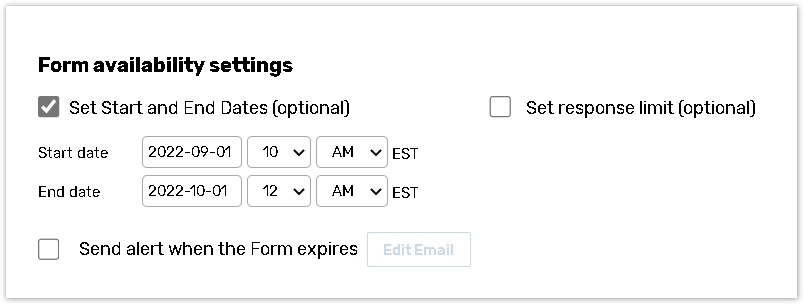
On the Launch page you can also indicate the Start and End Dates of a form availability if required.

Select the required Contact Manager from the dropdown. You can use only one Contact Manager per form. This means that if you have already published the form to people from one Contact Manager, you cannot publish it to people from another Contact Manager list.

Click the Change the group of contacts button to add or remove contacts by adding the filter, which will determine who will see the form on the User Portal.
For more details consult the Contact Groups help chapter.
By clicking the hyperlinked amount of contacts, you can export the contacts to Excel or CSV and customize individual start and end date of the form for each participant
Auto Republish when contacts selection changes - this option enables automatic publishing of forms to the new contacts that match selected criteria, as well as removing access to forms ("un-publishing") for the contacts that no longer match the group filters criteria (due to filter or contact changes).
If the Auto Republish when contacts selection changes option is not checked, and the contacts' selection change manually after the form has been published to the Participant Portal, saving new Filters will republish the form to the new group of contacts. Any changes to the filters will not take effect until you click 'Save Filters'/ 'Save Filters and Republish' button.
Click the Setup Data Flow button, apply field mappings and data flow direction, to prefill the form with the data stored in the contact manager or update selected contacts with the new information from the submitted response.

%20(2).png?inst-v=df463a08-9e7b-4080-abe7-1e0ff4747047)
ℹ Example:
When respondents change their living address, job position, email and other personal details, you can update contact records with the up-to-date information. You can also prepopulate survey questions with the data from the Contact Manager.
For more details consult the Data Flow chapter.
Specify the number of responses you wish to collect from each respondent per form. Allocate the response modification rights (Edit completed, Copy, Delete completed) for users of the portal, which are also applicable to the users of the Mobile application.

If the portal user deletes his response on the Portal or Mobile App, it will also be removed from all form reports upon synchronization.
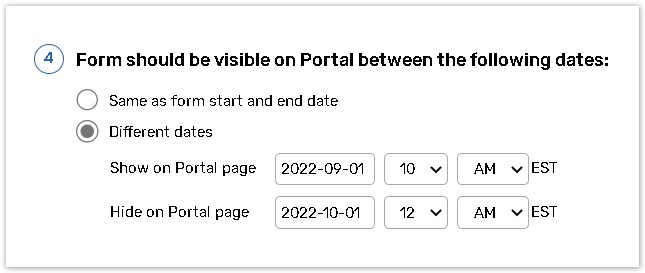
Indicate the Form should be visible on Portal between the following dates setting by selecting the same dates as form start and end date.
If you wish to choose different dates when the form should be visible on the Portal use the Different dates option.

An expired form will not be visible on the Portal even if you allow a form to be visible on the portal using the Different Dates option.
Activate the send email notification to contacts when the form is published functionality if required.
%20(2).png?inst-v=df463a08-9e7b-4080-abe7-1e0ff4747047)
Click the Publish to Portal and Mobile Apps button to publish the form.
Once your survey is published to the Portal, the access to the form via Master URL will be restricted to only those participants, who are logged on to the Portal.
