Setting up Online Portal
The Online Portal is a web page where people can login to submit forms. Launch to the Portal is done via Contact manager and therefore contact who are present in Contact Manager and have a login and password for the Portal can be invited. Users can also access responses that they previously submitted on the portal page. It is also used to assign forms to contacts who will be submitting their forms in an offline mode.
The Online version of the Portal can be accessed via the Portal URL link.

You can access the User Portal Settings page click on the Portal button on the upper toolbar.
%20(2).png?inst-v=5c056e1e-ae23-46ea-99ee-f3d1279e23b0)
On the User Portal Settings page, you can customize Online Portal behavior and functions and apply design to the Online Portal layout in accordance with your corporate colors.
Portal Logo
You can set up the Portal layout in accordance with your corporate colors.
The Portal Logo option allows you to add custom logo to the Portal. Select the image you would like to set as a logo by clicking the Add portal logo button. You can either select the image from the Media Library or upload a new one.
Portal colors
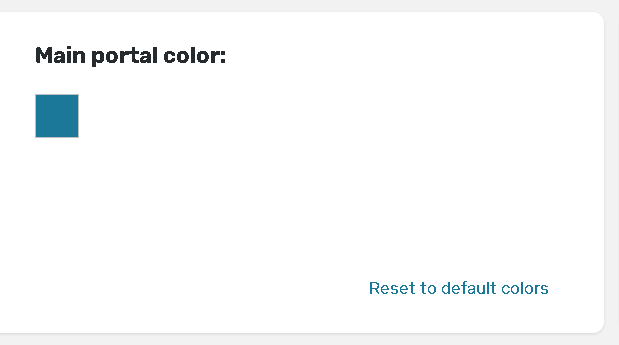
You can change the color scheme of your portal by changing the colors of the portal's sections and components.
Click the Match colors button to change the colors of the portal to match the colors used in the custom logo you uploaded.
Available tabs
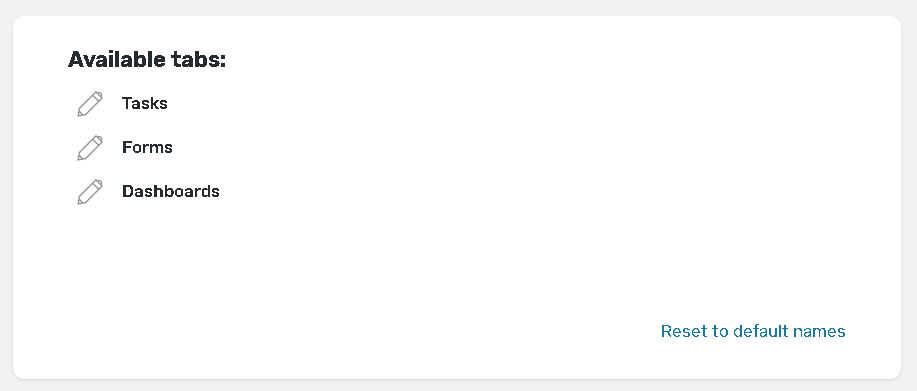
Use this section to custom names of the forms, tasks and dashboard tabs that will be visible to the user on the Portal.
Click the pencil edit button to edit the name of a tab. Press the Reset to default names button to reset customized names.
Links to be displayed on the portal
Use this section to add links to be shown on your Portal.
The Logout link is displayed by default. It can be renamed but cannot be removed. Pressing the Reset to default names clears the custom naming for the Logout.
Click the Add new link button to add a link to either internal or external web pages or documents. You can also create a name for each link as well.

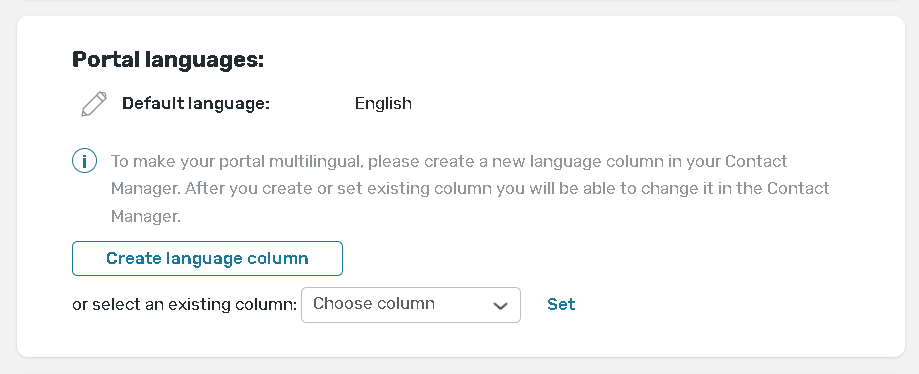
Portal languages
Use this section to set up additional languages to be used on the portal.
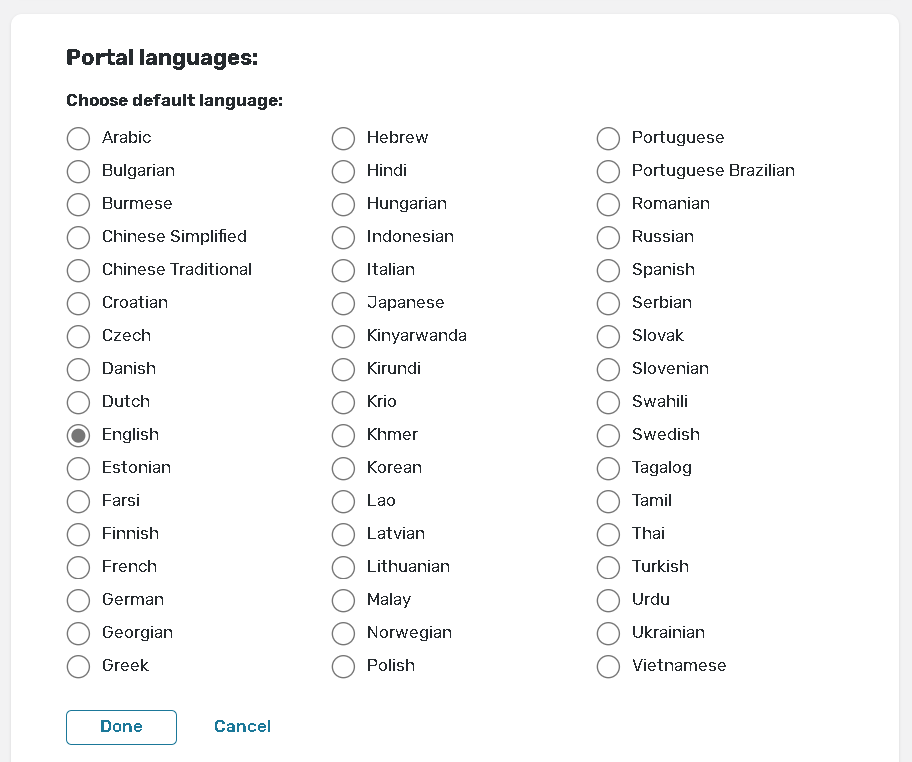
The default language is English. Click on the pencil edit button to select another default language.
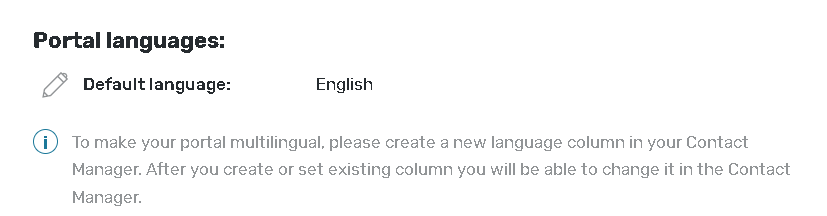
To set up the additional supported languages for the portal, you must have the language column in your Contact Manager.
Or you can add this column instantly in this section:
This column will be used to keep the user's language preferences. Now you select up to all supported languages according to the values in the language column of the Contact manager.
After the supported languages are set, the Portal admins are able to translate the custom names for the Portal tabs if applicable.
Login expiration settings for the offline apps
This feature allows you to control the duration of user login session in the app. This could be useful for users who get deleted from the contact manager and are not supposed to have access to the application any longer.
You may set the amount of time after which the user gets logged out from the application due to inactivity; note that the time set cannot be less than one minute and cannot be more than 90 days.
Keep uploaded forms and tasks on device
This feature allows controlling whether Completed and Uploaded responses and tasks should stay on the device after upload or not. Responses or tasks may be removed from the device either immediately after uploading to the server or after a specified number of days. If you choose the option Always they will stay on the device.
Access to completed responses and tasks
This feature works in conjunction with the Delete after Upload / Delete after '_' days setting.

There are 2 Security Options:
Allow Users Access to Completed Responses - this setting in combination with 'Delete after Upload/Delete after N days' option works for the Offline App only and removes data from the device to save space, but does not delete response headers. Therefore, when the internet is available, the Portal user can still click on the header of the completed response and download it.
Deny Users Access to Completed Responses - this setting in combination with 'Delete after Upload/Delete after N days' option applies to both Online Portal and Offline App, and does not allow the portal user to access completed and uploaded responses and tasks, as their headers are also removed from the portal.
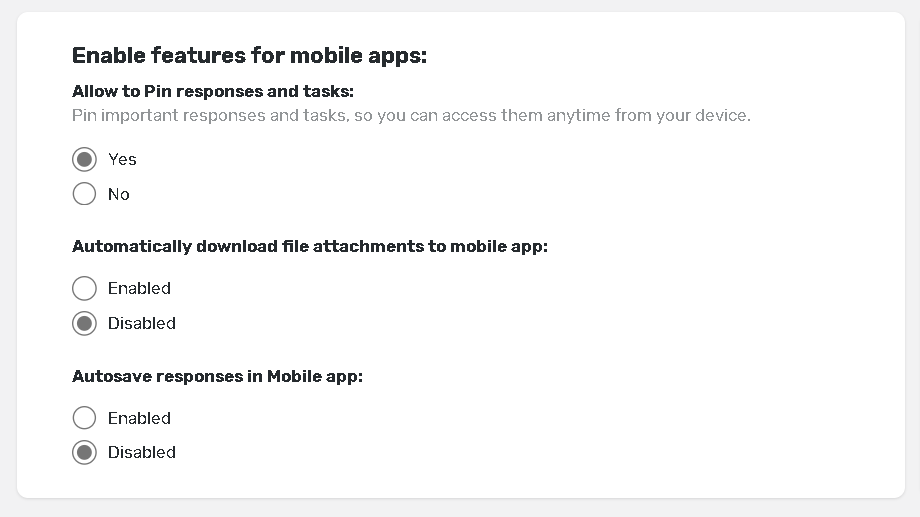
Enable features for mobile apps
Allow to Pin responses and tasks
Once a response or a task is pinned, its data with attachments will never be removed from the mobile device. The pinned response will be placed at the top of the list and all pinned responses will be sorted by submit date.
Automatically download file attachments to Mobile app
For In progress responses and "Open" tasks you may specify whether the attached files should be downloaded back to the mobile device or not:
Autosave responses in Mobile app
New changes on the Portal will be periodically autosaved (every 5 seconds) if this feature is enabled.
You can turn it on for the whole Portal on this page or let the Portal user decide whether new data should be automatically saved on the background. A Portal user may enable this feature by going to Settings in Mobile app, or while filling out a form. By default, this option is disabled on the Portal Settings page.
Authentication types
The Portal page is personal per each participant and should be secured. Therefore, when creating a Contact manager, 2 of its fields should be set as Login and Password for accessing the Participant portal (for instance email address, users' names, or personal ID). Contact manager fields that are used as Login and Password for the particular portal are listed under the Authentication type pane:
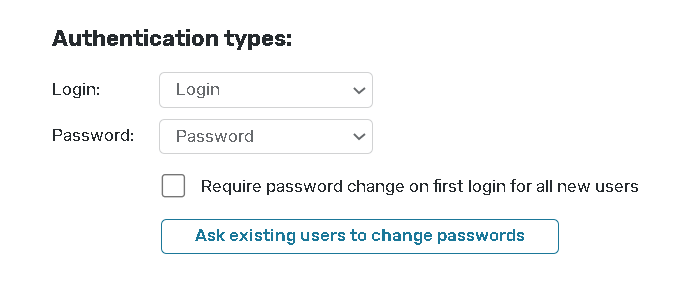
If the Require password change at first login for all new users box is checked, all new users added to the Contact manager after you configure the portal settings will be asked to change their passwords on their first login.
If the Require password change for all existing users option is checked, all existing contacts will be asked to change their password upon logging into the portal for the first time or their next login.
Portal is Available
Set up Portal activation date and time so the Portal is opened for respondents for a set period of time or make it accessible all the time by selecting the Always option.
%20(2).png?inst-v=5c056e1e-ae23-46ea-99ee-f3d1279e23b0)
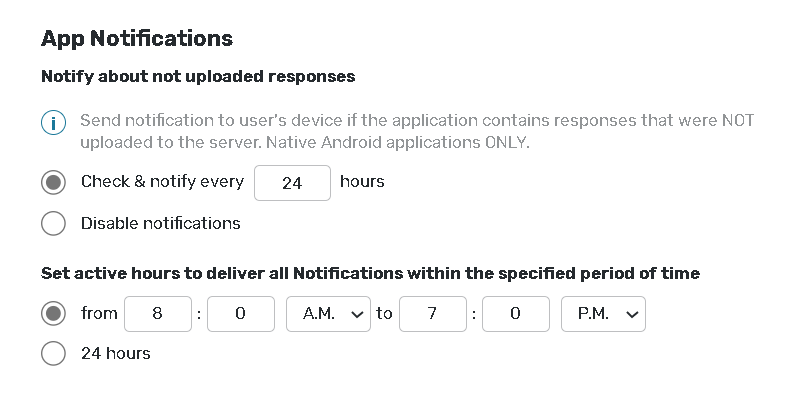
App Notifications
Send notification to user's device if the application contains responses that were NOT uploaded to the server. Native Android applications ONLY.
Filter Data Models for specific Contacts
Data Model filtering allows to limit the Data Model records that will be presented in the Object Lookup questions depending on the Contact properties.
Filtering is done by comparing Data Model values with the properties of Contacts who log in to the Online Portal or the Offline application.
To filter Data Model records for a specific contact group, click the Add Filters button.
%20(2).png?inst-v=5c056e1e-ae23-46ea-99ee-f3d1279e23b0)
At the bottom of the Portal Settings page, you will see a list of Data Models currently used in Forms and Tasks which are published to the Portal. You can also see the size of the Data Model, as filters will be useful for large Data Models in particular.
.jpg?inst-v=5c056e1e-ae23-46ea-99ee-f3d1279e23b0)