Contact Synchronization
Contacts Synchronization is used to import the list of contacts from external sources instead of creating contacts manually one by one.
You can also schedule automatic updates of the contacts.
Contacts are synchronized with the CSV data file, which can be stored locally on your computer or remotely on the FTP/SFTP or HTTP/HTTPS servers.
A line break (also known as a newline character) added within a field in a CSV file will cause the import failure.
How to set up a new synchronization
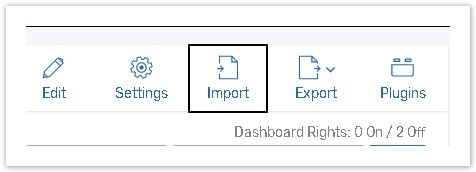
To set up a new synchronization or edit an existing one, go to the Contacts page, select the necessary Contact manager from the list, and click the Import button on the top right;
If you import a CSV file to a Contact Manager with the Language column, use ISO language tags, for example, "en" for English, "fr" for French, and so on. Full list of supported languages with ISO tags can be found here.
The Language field of Contact Manager also stores the ISO language tags, not the actual language name. If you use the Data flow functionality to pass the Contact Manager Language Field into a form or set up a filter for the Object Lookup question type, the language value will be displayed as the ISO language tags.
If you have not set up any synchronization yet or want to create a new one, click the Setup New Import button.

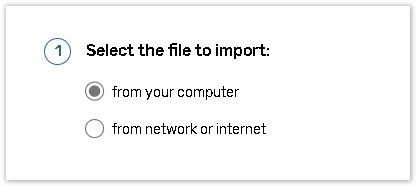
Data you are going to synchronize your contacts with can be located either remotely on FTP or HTTP servers or locally on your computer.
Import file from your computer
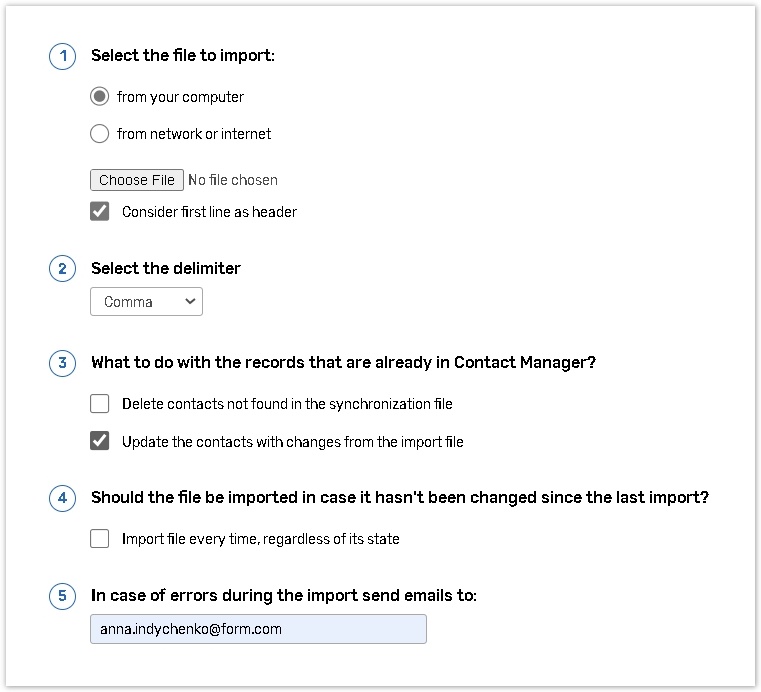
Select the file to import allows you to choose the file;
Check the Consider First Line as Header box if the data file contains column headers;
Select the delimiter from the dropdown menu. The Comma delimiter is selected by default. If you use a data file with atypical delimiters, select the Other option and input the delimiter you used into the text field;
Check the Consider First Line as Header box if the data file contains column headers;
You can keep your Contact Manager updated in accordance with the data file. Select the Delete contacts not found in the synchronization file option, and contacts missed in the data file will be removed from the Contact Manager.
To keep existing contacts updated, select Update the contacts with changes from the import file option.
Specify an email in case of errors during the import of emails to be sent to. If you wish to import the file every time, even if it has not been changed after the last import, select the checkbox under step 4: Import file every time, regardless of its state.
If you want to know more information about the Import Settings, please read the Import Settings
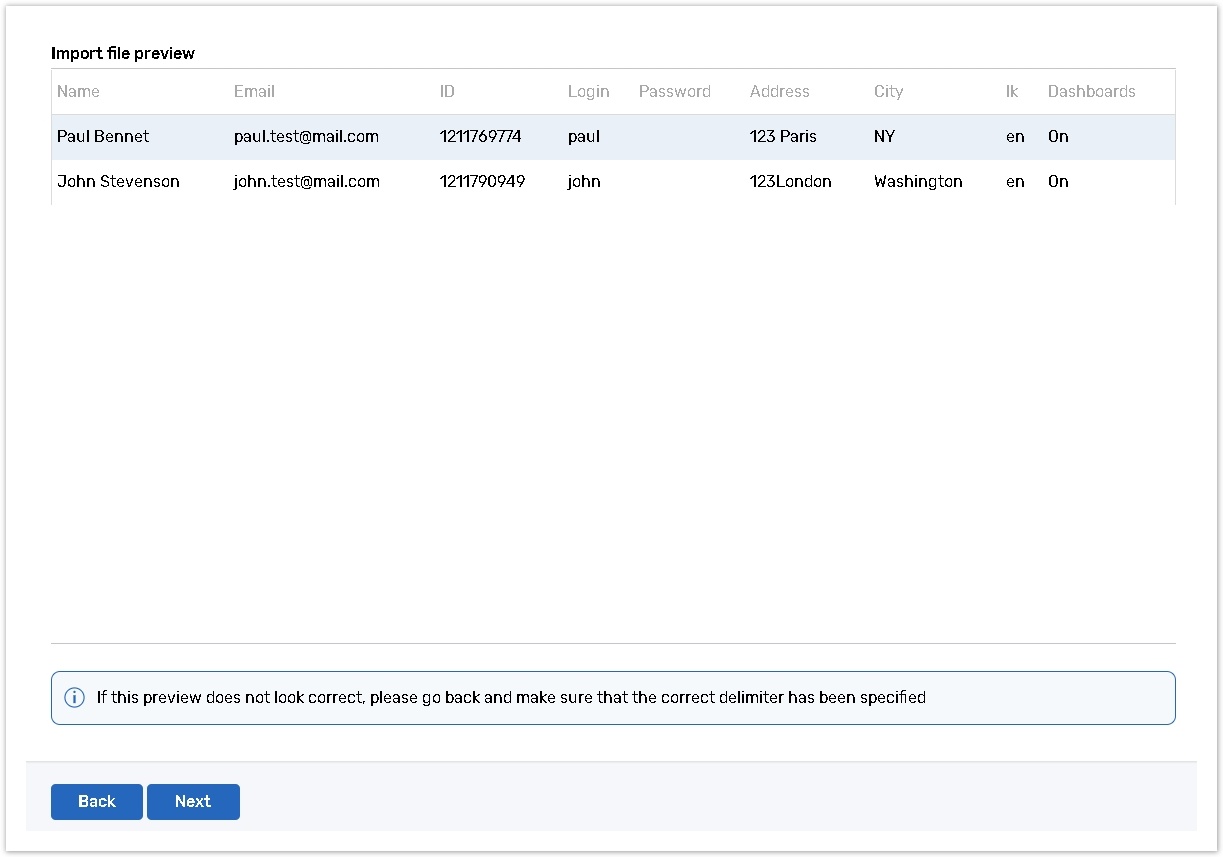
Confirm the accuracy of the file on the Import file preview page. Press the Next button to proceed with the Import process.
Import files from network or internet
If an import of the file from the network or internet was selected, it is possible to select one of the protocols to be used (HTTP/HTTPS/FTP/SFTP/SslFtp (explicit or implicit)).
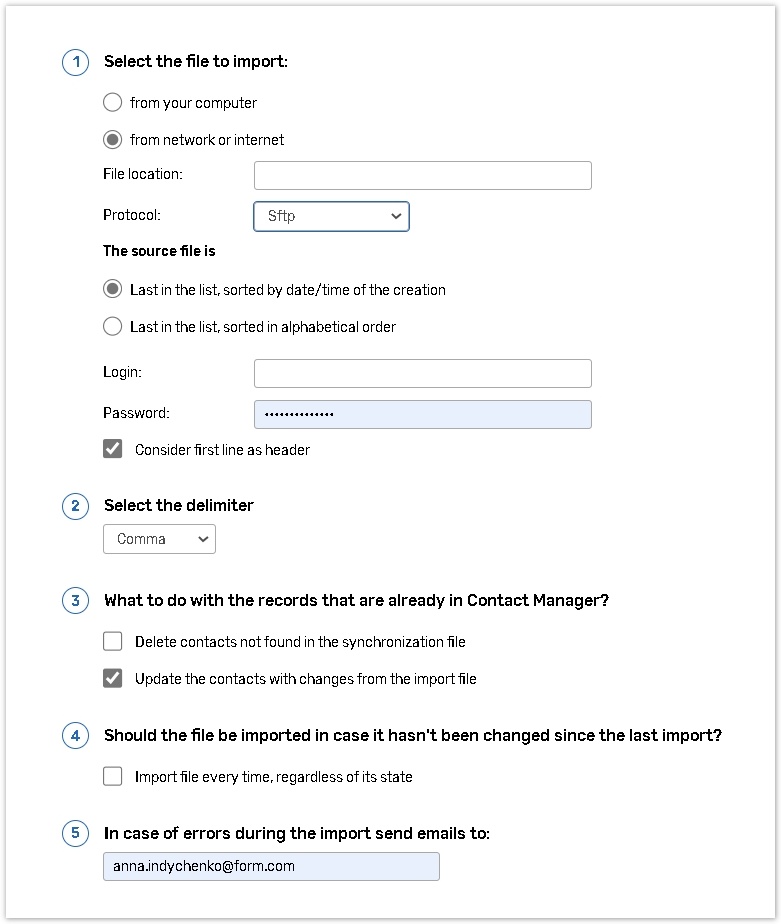
Select the From network or Internet option;
You have to indicate the path to it. Specify the file location in the File location box;
Indicate the type of the Protocol;
Once you indicate the path to the folder, you can check one of the two options of The source file is set;
If you specified FTP/SFTP/SslFtp (explicit or implicit) as the Protocol, enter the Login and Password to connect to a remote server;
Check the Consider First Line as Header box if the data file contains column headers;
Select the delimiter from the dropdown menu. The Comma delimiter is selected by default. If you use a data file with atypical delimiters, select the Other option and input the delimiter you used into the text field.
You can keep your Contact Manager updated in accordance with the data file. Select the Delete contacts not found in the synchronization file option, and contacts missed in the data file will be removed from the Contact Manager.
Select Update the contacts with changes from the import file option to keep existing contacts updated.
Specify an email in case of errors during the import of emails to be sent to. If you wish to import the file every time, even if it has not been changed after the last import, select the checkbox under step 4: Import file every time, regardless of its state.
For more information about import settings, please read the Import Settings
Confirm the accuracy of the file on the Import file preview page. Press the Next button to proceed with the Import process.
FTP/SFTP/SslFtp (explicit or implicit) Protocol
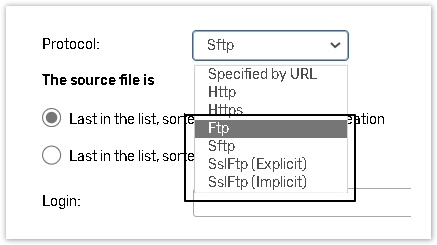
If you indicated a link on FTP/SFTP/SslFTP(explicit or implicit) location, the link structure should be as follows:
ftp://file_locationIf you want to indicate a folder with the list of files, the structure link should be as follows:
ftp://folder_location/*.csvIn case you indicate the path to the folder, you can select one of the 2 options below:
%20(2).png?inst-v=955f8bd8-7a38-40d6-9236-ce0b960f934b)
Login and password must be specified for this location.
%20(1).png?inst-v=955f8bd8-7a38-40d6-9236-ce0b960f934b)
If you select the FTP protocol and there is no permission to use RegEX, the system will not be able to import files.
Mapping
The mapping page allows you to map data from the data source with the contact columns. If your data file contains more fields than appear in the Contact Manager, you can add new Contact Manager fields right from this page.
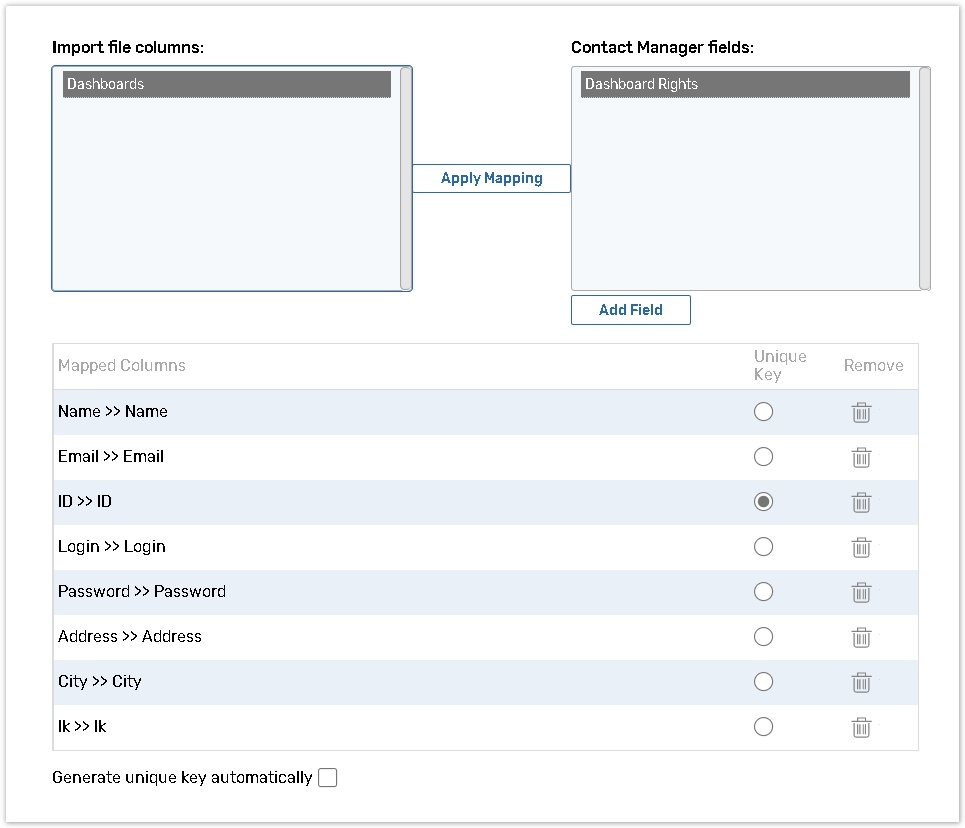
Click the Add Field button;
Click on the data source column from the Import File columns field;
Click on the column you want to synchronize with from the Contact Manager Fields field;
To apply mapping between selected columns click Apply Mapping button;
Select the column to use as a unique identifier so there are no duplicates within the Contact Manager. You can also use the Generate unique key automatically option, thus the data from the imported file will be overwritten with the random 9-digits unique codes and saved to the Contact Manager.
To delete applied mapping click the Remove button next to the appropriate entry from the Mapped Columns field.
Click Back to go back to the previous step.
Click the Run Import button to apply all settings and perform contacts import.
In case you decide to update your Contact Manager and keep the same passwords for portal accounts, remove the mapping of the Password column during file import, or leave it empty in the file.
Scheduling
If you import contacts from remote data sources, you can either import contacts right away or schedule automatic data synchronization.
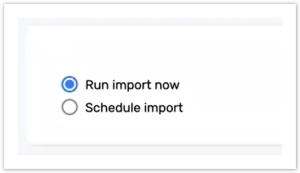
Click the Run Import now button to import data models right away.
Click the Schedule import button to schedule for data synchronization.
Import Time Select start synchronization time and time zone. Read the Time Zones .
Specify the Recurrence pattern to set the frequency of data synchronization.
Range of recurrence Indicate time period when scheduling settings should be applied.
Specify the email address and notification emails will be sent to this address in case of errors during the import.
Click the Finish button to apply all settings and perform synchronization.
If you use both the Delete contacts not found in the synchronization file and the scheduled synchronization with the external source options, and data file have more than 10% of contacts changed, such import will not be performed in order to avoid accidental contacts deletion.
If you still need to perform such import please either deactivate the Delete contacts not found in the synchronization file option or delete contacts from the Contact Manager manually before the synchronization.
List of imports
The Synchronization home page displays the statistics of existing synchronizations and their details.

Name Shows sync name.
Latest Import Displays date and time last synchronization was performed.
Next Import Displays next synchronization date and time.
Import Now Click the Go button next to the synchronization you want to perform immediately. This option is applicable for importing data from external FTP or HTTP sources.
Status This column shows the detailed information on the performed import. Import can be finished either successfully and then green mark will appear in this column or with an errors and yellow exclamation mark will be shown. The list of errors will be displayed once mouse is placed over the yellow mark.
Click Edit next to the synchronization you want to edit.
Click Delete next to the synchronization to deactivate and remove it from the list.
Please read the Import Settings article for more information about the list of imports page.
Synchronization can be scheduled for remote data sources that are located on (S)FTP or HTTP(S) servers only.
If the data in the file that resides on the remote servers has no changes, import will not be performed due to the data identity on both data file and Contact Manager.
